Getting Started
What does your user need to know to try your project?
Crepes is a self-hosted website that allows you to offer events to users in which they can register themselves.
Think of it like a content-management system, but for events.
It was originally designed to organise in-real-life courses, but has since been transitioning to a more general purpose event management system.
It is still early days for the project, but it is stable enough that it can be used in production.
This chapter guides you through the installation and configuration process.
Get started by following the links below!
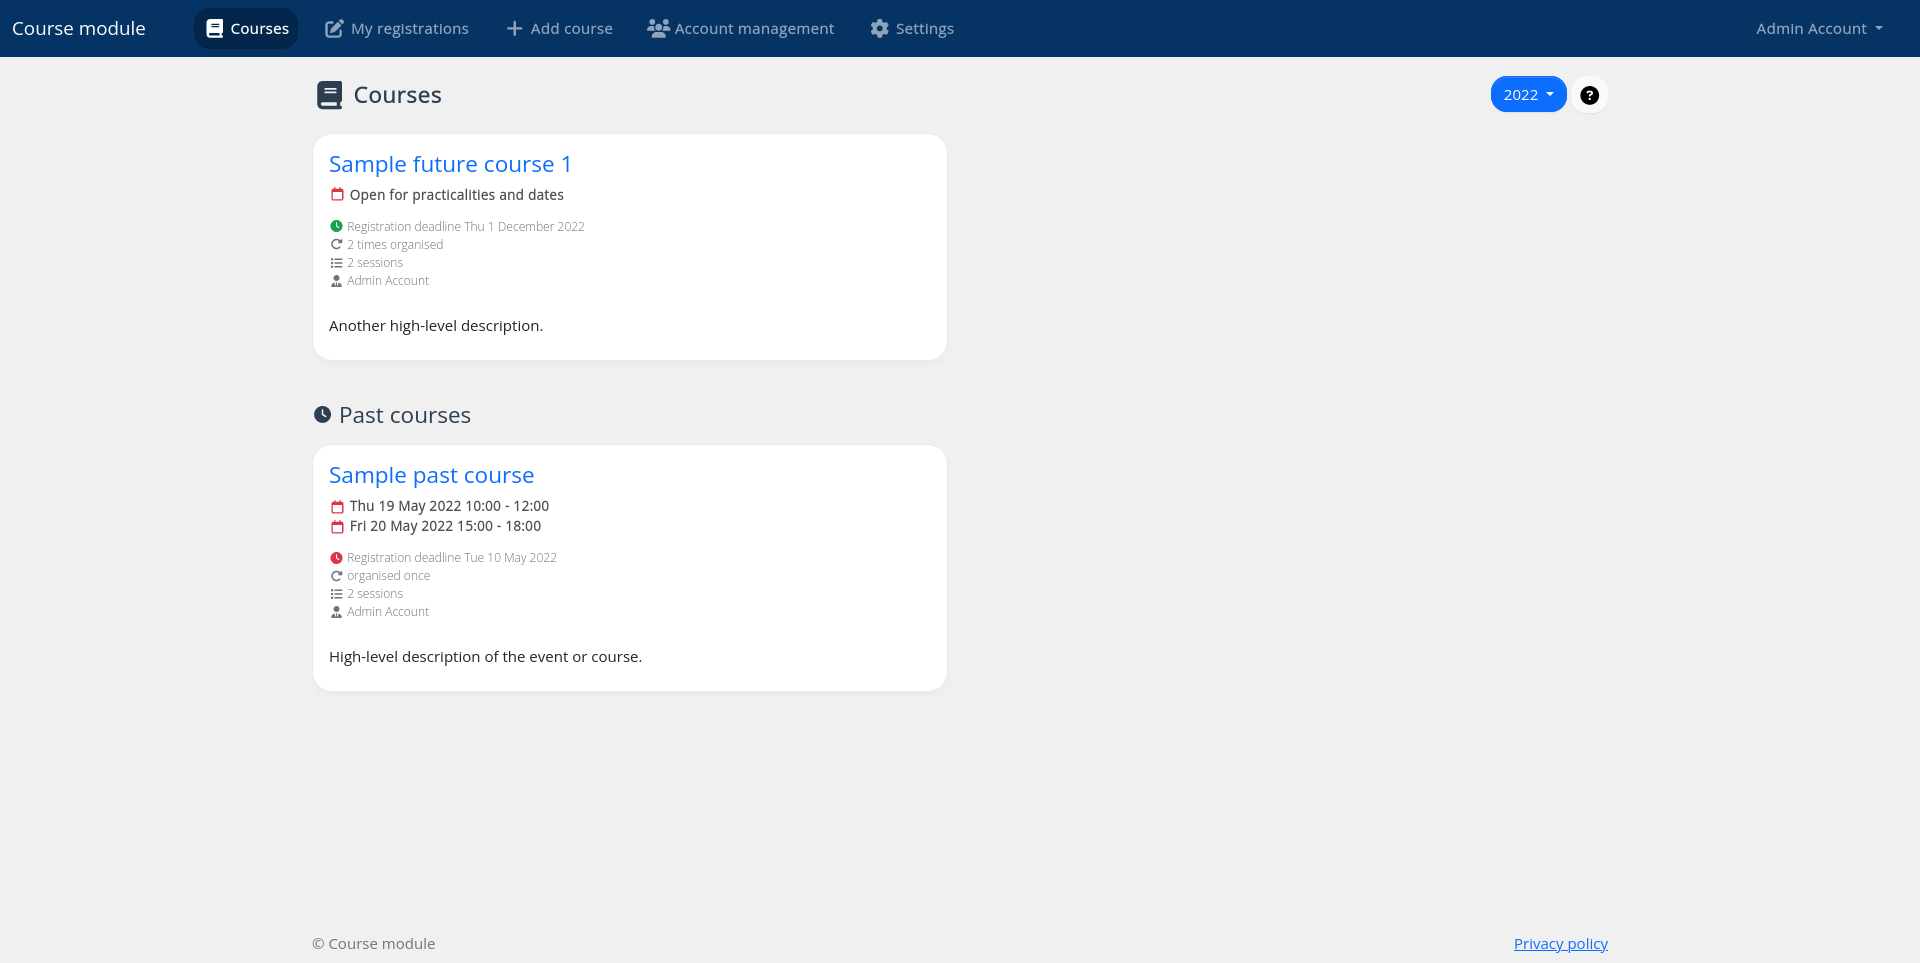
Click to enlarge screenshot
1 - System Requirements
System requirements for the installation.
The requirements are fairly standard for a web server running PHP, also on shared hosting.
| Requirement | Version | Details |
|---|
| Composer | >= 2.2 | Composer is the back-end package manager |
| HTTP server | | Examples: nginx, Apache |
| PHP | >= 8.1 | |
| PHP extensions | | - BCMath
- GD
- JSON
- Mbstring
- OpenSSL
- PDO
- XML
|
| SQL database | | Examples: MySQL, MariaDB, PostgreSQL |
| Yarn | >= 1.20 | Yarn is the front-end package manager. This is strictly not necessary to install on the server as you can build the front-end assets locally as well. |
2 - A Note on Shared Hosting
What you should beware of when using shared hosting.
The document root of the application is the public folder.
Do not place the whole application in the document root, or otherwise your risk creating security issues!
It is especially dangerous if the environment file .env is readable by the outside world because it contains application secrets.
The safe way to set up a Laravel application (like this application is) on shared hosting is by placing the whole application directory outside of the document root in a dedicated folder. For example you can name that folders crepes.
The files in the public folder should be the ones placed in the document root.
You then need to make a few modifications to public/index.php in order to accomodate for the changed application directory structure. In particular lines 10 and 11 need changes. The code initially looks like this:
10
11
| require __DIR__.'/../vendor/autoload.php';
$app = require_once __DIR__.'/../bootstrap/app.php';
|
If your document root is at /public_html, and the application code is at /crepes, you should change the code to:
10
11
| require __DIR__.'/../crepes/vendor/autoload.php';
$app = require_once __DIR__.'/../crepes/bootstrap/app.php';
|
3 - Installation
Installing the application.
This page will guide you on how to install the dependencies for the application.
Download the application source code
The first step is to get a copy of the source code to the machine you want to deploy to.
At this moment, the only way to obtain it is via a git clone or download from the repository.
In the future we might add a way to install it via composer directly.
git clone https://github.com/nielsdos/crepes installation-directory
cd installation-directory
Application dependencies
We use the Composer package manager to manage our back-end (PHP) dependencies, while Yarn is used for the front-end dependencies.
Back-end dependencies
Install the dependencies for production as follows.
composer install --no-dev
If you’re setting up a development environment, you should not pass the --no-dev option.
Front-end dependencies
Install the dependencies and build the front-end assets as follows.
If you’re setting up a development environment, you can use yarn dev instead of yarn prod. You can also use the watch option to automatically rebuild front-end assets upon changes with yarn watch.
4 - Configuration
Configuring the application.
This page will guide you on how to configure the application.
Creating an environment file (.env)
The configuration settings are stored within the .env file.
To create one you should copy the example file .env.example to .env.
Make sure that the .env file is never accessible by the outside world: it contains application secrets such as your database password!
Editing the environment file
You should modify the .env file to configure the application. This includes settings for the database, reCAPTCHA settings, and email settings. In particular, the following keys should be at least set-up:
APP_URL should point to the public URL where your application is hosted, without trailing slashMAIL_*DB_*NOCAPTCHA_*, for reCAPTCHA
To get reCAPTCHA keys, please use the reCAPTCHA admin console and select reCAPTCHA v2.
You can furthermore also specify your desired time zone, locale, etc.
If you wish to modify the URLs from the default course to event (or something else entirely), you can modify the following entries:
APP_ROUTE_CUSTOMIZED_NAMES_COURSEAPP_ROUTE_CUSTOMIZED_NAMES_SUBSCRIPTIONSAPP_ROUTE_CUSTOMIZED_NAMES_SUBSCRIBEAPP_ROUTE_CUSTOMIZED_NAMES_UNSUBSCRIBE
Generating the application key
Finally, you should generate an application key. The application key is used to perform encryption and decryption routines within the application. It is also stored in the .env file.
You should only generate this once, and never change it again later unless the key gets leaked. If you regenerate the key, all sessions and signed URLs will become invalid.
Setting up the database
The database schema is handled via migrations. These are scripts that build or upgrade your database schema incrementally in a way that can also be rolled back. If you’re interested you can read more about them in the Laravel documentation.
If your database settings are correct, you should run the following command to set-up the database.
Make sure your database actually exists as this will not be created by the script!
Every time you upgrade the application you should re-run the above command to make sure your database schema is always the latest version.
Caching
To improve the performance of the application, the configuration, routes, views and icons should be cached.
You can easily to this by executing the optimize command, which internally performs the following caching commands:
php artisan config:cache
php artisan route:cache
php artisan icons:cache
php artisan view:cache
Creating an administrator user
There are no initial users provided by the application. You should therefore create an initial administrator user.
You can do so by executing the following command and following the instructions on your screen.
php artisan crepes:create-user
Next steps
Your application should now be set up and you should be able to visit the public URL and see it in action!
The next step is to set-up the cronjobs and use your administrator account to create some content.
5 - Cronjobs
Setting up the cronjobs for the application.
Cronjobs are a way to automatically execute scheduled commands.
They are used in the application to run jobs from the queue such as sending notification emails, and also to send reminders.
A note on the queue
If you plan on listening to the queue using Laravel’s built-in tools instead of using a scheduled job, you can use the following command instead of setting up a cronjob for the queue. A cronjob to send reminders is still necessary.
Cronjob configuration
The following two jobs should be run:
php artisan queue:work --stop-when-empty --tries=5php artisan crepes:send-reminders
An example crontab configuration could look like:
0 10 * * * cd installation_directory && php artisan subreminders:send >> /dev/null 2>&1
*/20 * * * * cd installation_directory && php artisan queue:work --stop-when-empty --tries=5 >> /dev/null 2>&1
Make sure to replace installation_directory with your installation directory!